Wednesday, February 18, 2015

See Right Through

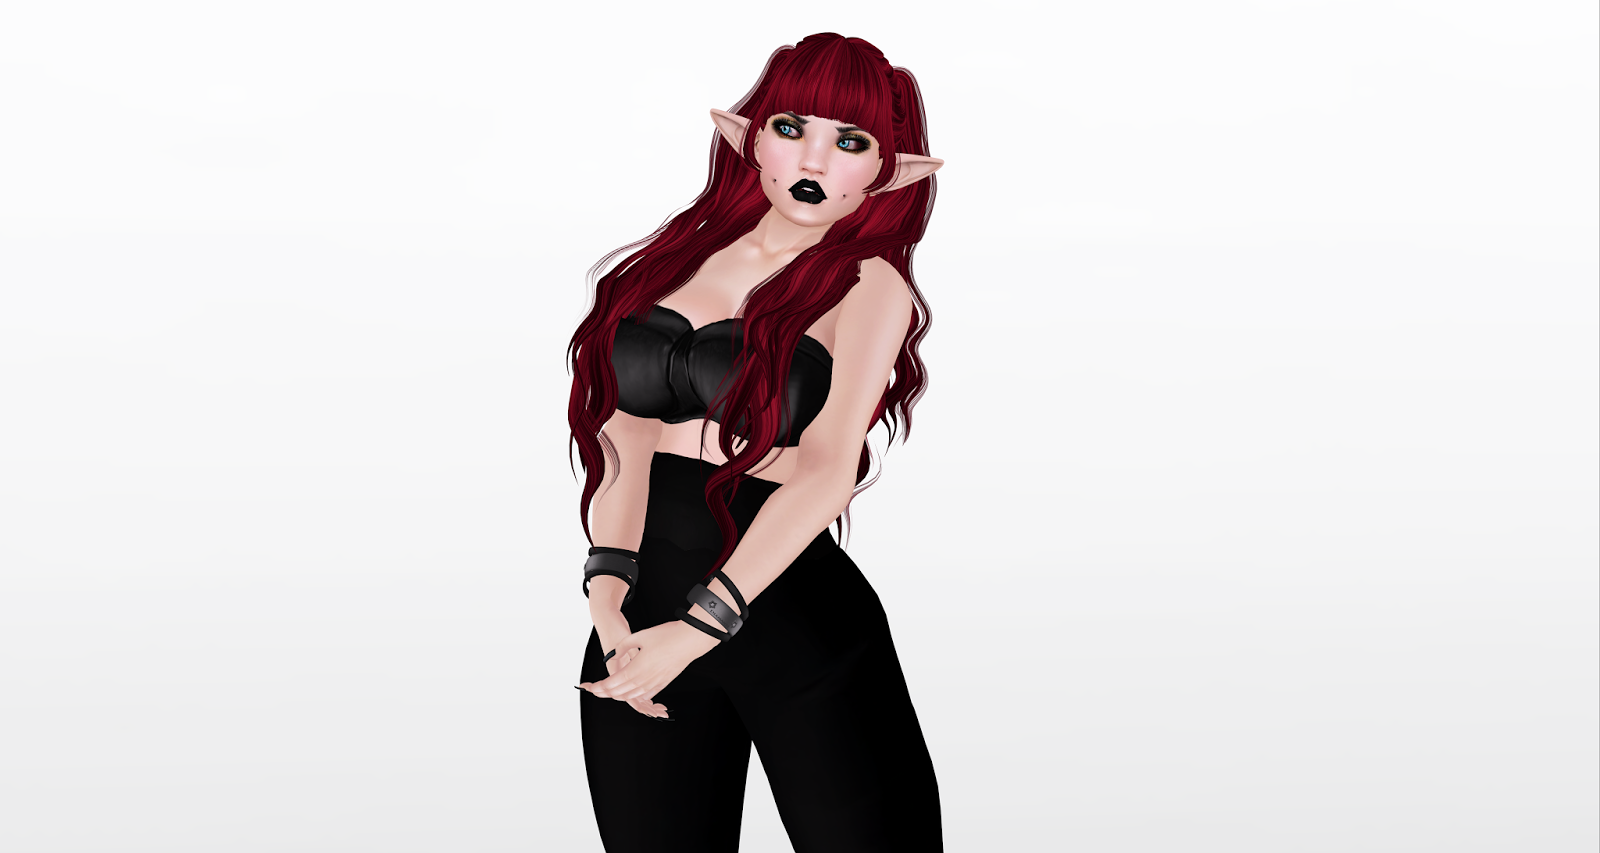
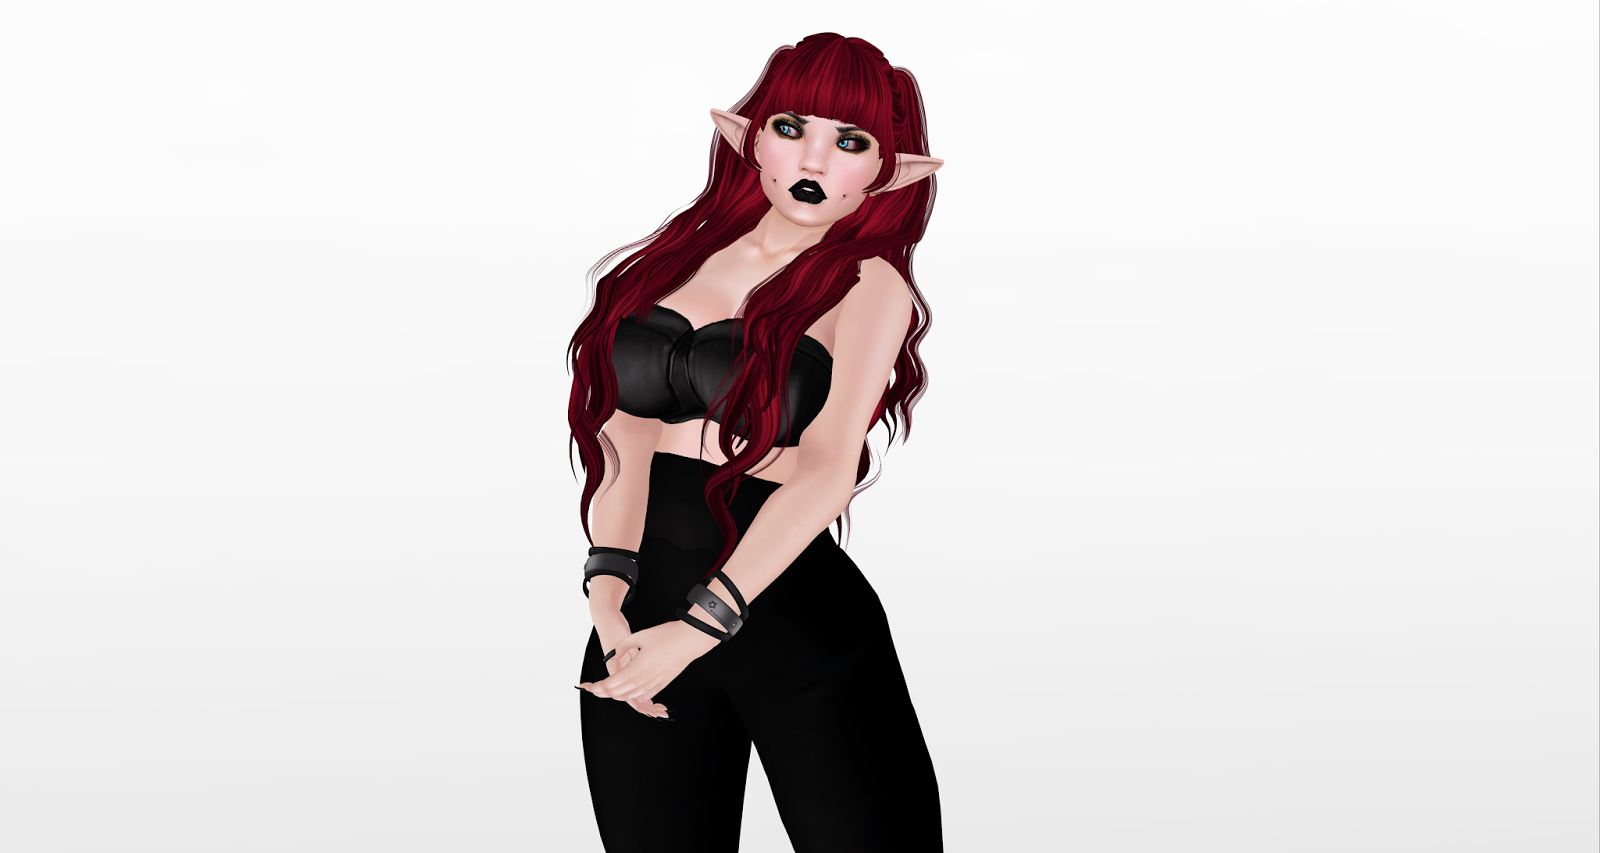
So many events going on right now its difficult to keep up with. I would love to blog it all but there just isnt the time sadly. I did however manage to grab a couple of items that caught my eye that i just had to blog. This outfit at Collabor88 is just fabulous. I love the idea of sheer shiny fabric using mesh. Its really awesome. It was however tricky to put together a whole look for the outfit. I hope you like it.


Style Credit
___________________
Mesh Body-Maitreya Mesh Body - Lara
Skin-DeeTaleZ Skin Limited Edition "Dorothy" Nordic
Eyes-[Buzz] Lillian Eyes - Honey
Brows-[Buzz] Cara Eyebrow - Warm Browns
Eyeshadow-[Buzz] Northern Lights -Gold 
Lipstick-Misfit-Darkside-Raven (with appliers)
Hair-Magika [02] Many
Hand Tattoo-.: TAOX :. TaTToo Applier // Hands Crown
Outfit-r2 A/D/E kisara [sheer] (C88)
Heels-.alterego. snobbery collection - full - black (from AE Blackout event)
Ears-[theSkinnery] Puki Mesh Ear
Lip Piercing-[ni.Ju] Snake Bites - Simple V2
Bracelets-Cute Poison - Celestial Bracelets
Polish-ILLMATIC - Style n File :: The Metallics
 

Saturday, February 7, 2015

Unicorns Are Real


BODY-Maitreya Mesh Body - Lara
SKIN-DeeTaleZ Skin Limited Edition "Mei" Nordic
EYES-[the Skinnery]Lovers eye-Baby pink
HAIR-Lamb. Warpaint - Pastel Pack (C88)
Hairbase-Just Magnetized - Natural Hairbase - set 03
BROWS-Soiree - Brows / Kat
EYESHADOW-Pink Acid Mi Amor Deep Eye Makeup 3 Pack (WHITE)
LASHES-*MC* "Falsies" Mesh Alpha Lashes with HUD - Pack1
EARS/Horn & TAIL-+Half-Deer+ Unicorn Horn + Tail Set [Pink] (C88)
TOP-The Secret Store - Pinkie Lacey Blouse - Peach (C88)
SKIRT-The Secret Store - Celestia Flounce Skirt - Milk (C88)
HEELS-Violent Seduction - Unicorn Shoes (C88)
RING (RIGHT HAND) LaGyo_Unicorn rings SET Gold (C88)
RING(LEFT)(Yummy) Unicorn Cameo Ring - Classic Ivory (C88)
NECKLACE-(Yummy) Unicorn Cameo Necklace - Classic Ivory (C88)
NAILS-*[Starry Heaven]* Cotton Candy Nails - SLink Appliers

POSEs By
 Pose maniacs, and Bez

Tuesday, February 3, 2015

Starships

As many of my friends already know im a sucker for space themed stuff. I use it anywhere i can! So when i saw what was at Uber i was in love! I knew i had to have everything!
Seriously if you havent been you need to go now!

Uber Website
Uber on FB
SLurl

The event runs from January 25th- February 23rd.


                                                                       Style  Info


Skin-[PF] <Vamp> - Doll V2 (
Hair-little bones. Vanity Eros - Pastels ( Uber)
Eyes-IKON Deadshine Eyes - Rose
Brows-[La Baguette] EyeBrows
Nail Polish-A:S:S - SLINK avatar enhancement system nails - Silver Dreams
Blush-[ a.e.meth ] - Applecheek Blush
Eyeshadow-Pink Acid Runway Diva Eye Makeup-Purple Magic
Eyelashes-*GA* Mesh Lashes Fantasia
Hand tattoo-Letis Tattoo : Slink Hands : 4 Tattoos : HANDSPACK13001
Jumpsuit-Foxes - V-Neck Jumpsuit - Nebula (Uber)
Shoes-REIGN.- EMPIRE PLATS- FATPACK (Uber)
Necklace-.random.Matter. - Tempe Necklace - Silver (Uber)
Face Jewelry-<-Puncture-> Angelbites/Monroes (Gemstone) Basics, <
-Puncture-> Triple Bindi Piercing (Gemstone) Basics
Poses-Pose Maniacs, and Fly Lily Poses


 and the song that was in my head the entire time while i was working on this :p


Friday, January 16, 2015

Little White Box


Skin-[PF] <Crystal> - Doll V2
Hair-Blues. Emilia - Greyscale
Eyes-IKON Deadshine Eyes - Rose
Mesh head-#TheMeshProject (BETA) Head(f) - Babydoll (Deluxe)
Lipstick-Pink Acid Overly Done Light Lip Gloss  + Theshops App. Pack <3
Horns-*Epic* VIP Members Gift [Rainbow Sparkle Horns! -October 2013]
Necklace/Earrings-Cae :: Bolt :: Collection  (c88 august 2014)
Ring-::HH:: Hucci Lighter Ring - Rose Gold
Piercings-Cute Poison - Stellar Piercings Candy Metals Edition (unpacked)
Nail Polish-A:S:S - SLINK avatar enhancement system nails - Silver Dreams
Jacket-Blueberry - Mins - Mesh - Leather Zipped Jackets White+
Pants-Blueberry Aura -Mesh- Reflective Leather Pants White
Shoes-.tsg. Bubbles Heels - White -SLINK High-
Prop/Poses-:: Focus Poses Mesh Box Poses ::

Wednesday, January 14, 2015

Trust No B!tch

This post is the beginning of a fun new blogging adventure for me and my sister. We have both blogged in the past, but never together. So this is a new experience which we hope will be a lot of fun!


As you know Oh My Gacha is now open and full of fab items that i couldnt resist.My friends already know that i am a gacha addict and i will play any and every machine even if its something i really wont use lol. I really cant say no.


omg-oh-my-gacha ( click for info)


_____________________________________________________________________________


                                  * On Me*
Skin -Glam Affair-Elvi-America-01

Mesh Body -Maitreya Mesh Body-Lara

Brows -Soiree Brows/Vivian

Mesh Mouth [[CR]] Nyam Nyam

 Cheek Piercings-Zombie Suicide-Cheek dimples with piercings v2

Eyelashes Mon Cherie-Falsies Mesh Alpha Lashes with hud

 Hair-Ploom-Equestranaut-Monotone (Oh My Gacha)

Choker -Bubble-Choker Cat Eye (Oh My Gacha)

Backpack-Swallow- Backpack-Dark Secret-Trust No Bitch-RARE ( Oh My Gacha)

Top -BabyDoll. Lingerie Princess / Black (Oh My Gacha)

Shorts -aDiva Highwaist Black

Bracelets -Mandala-7Luck Bracelet

Watch Mandala-Sitennoah-watch*bracelet-silver

Ears Mandala Steking Ears

Eyeshadow-Pink Fuel-Shimmer Eyeshadow-Bandit +Wing

Eyepatch -Pure Poison-Star Eyepatch (old gacha)

Shoes -Reign-Madeline Boots

Eyes -Ikon-Immortal Eyes-Starfall

Lipstick-Misfit-Darkside Lipstick-Corpse

Blush
-::Misfit:: Doe Blush ( with nose) (coming soon)

Tattoo-Letis Tattoo :: Papiliones :


*On Shorty*

Top: Babydoll. ~ Lingerie Princess / Pink ( Oh MyGacha)

Bottoms: Arise ~ Vee String / Black

Socks: Buttery Toast ~ See My Toes / Fatpack

Necklace: Buttery Toast ~ Little Lucy / Blue  ( Oh MyGacha)

Nail Polish: Aphrodisiac ~ Mayhem Nails / Inverted

Backpack: Swallow ~ Dark Secret / Great Motherfucker  ( Oh MyGacha)

Hair: Ploom ~ Mystic / Dipped

Lipstick: Misfit ~ Raven / Darkside Collection

Skin: Pink Fuel ~ Doll

Eyes: Dead Apples ~ Phantom Eyes / Snow

Eyelashes: MC ~ "Falsies"


*Props/Decor*

From  Oh My Gacha event

{NanTra} Shut Up and Drive 8 RARE

:MoonAmore: + ~DearDeer~ Octopulpo ROSE

:MoonAmore: + ~DearDeer~ Octopulpo GENTLEMAN

::BAD:: Oh Bother Quilt Rare

::BAD:: Oh Bother Clouds Rare

::BAD:: Oh Bother Owl Rare

::BAD:: Oh Bother Patchwork Rare


Other Decor ( some from other gacha events in the recent past)

Sorgo- Geek ( screen,keyboard,mouse)

Whatnext- icecream soda

::{u.f.o}::chame cantabile - cheeky radio - whtie

* SORGO - Geek Ashtray (full set)

[RI] Reader Tablet

tarte. repurposed shutter (black), and (Grey)

Scarlet Creative Mesh Decor Shutter

Scarlet Creative Wool Rug - Frenchie

-tres blah- Soiree - Peach Cake

-tres blah- Soiree - Mini Pizzas

Im Back!!...........well We are back.

I am excited to announce that I am starting blogging again. I havent used this blog for fashion blogging sense April last year. Wow its been that long. This time around my sister will be joining me as co blogger. Having her with me on this should make it a lot more fun for both of us.

I promise that all of my pics will always be taken on ultra to keep the quality at its best. We plan to visit themed locations for photos as often as we can if the lag doesnt kill us. When in the studio we will do unique setups for the photos to keep it fun and exciting for everyone.

We will blog both mens and womens items. I have a male av i put together specifically for photos purposes so im all set :)

I dont want to go asking for sponsors and applying as a blogger anywhere until im really back into the blogging for a bit, but we would happily blog anything you send our way.

Me and my sis Shorty use Facebook and flickr and are in plenty of groups so promotion is no issue.


Keep watch for the new post :)

Sunday, October 19, 2014

Blogger Photo Tips

Tons of people are getting into blogging all the time. Its easy to get lost in the crowd of other popular blogs, but hey atleast you can have high quality pictures and your blog can look awesome!

I hope this can be of use to somebody.


POSES

Don't use old freebie poses from 4+ years ago. Everyone reconises them and it cheapens your blog a lot. It just doesnt look good.

This doesn't mean you can't use freebies. There are plenty of newer ones on the marketplace that are super nice looking. There are also low budget pose stores that make high quality poses im sure anyone can afford.


To store these poses i suggest Boom Animation Station. Check it out in world to really see what you're getting. Its well worth it.


PHOTOS

When Taking a Photo You want to have the best quality possible. Remember that blogging is advertising products for designers to help other people notice it and want to buy it. You don't want to have a low quality image that makes the product look bad.

I know not everyone has some sort of super gaming pc, but really its not needed. Just follow these steps to improve your image quality.

Adjust your graphics Settings


Med settings are perfectly fine for casual everyday use just hanging out with friends and such, but for blogging you need to step it up.Ultra may be to much for some pcs to handle, so move the slider up to High and it still looks very good

Here are some samples
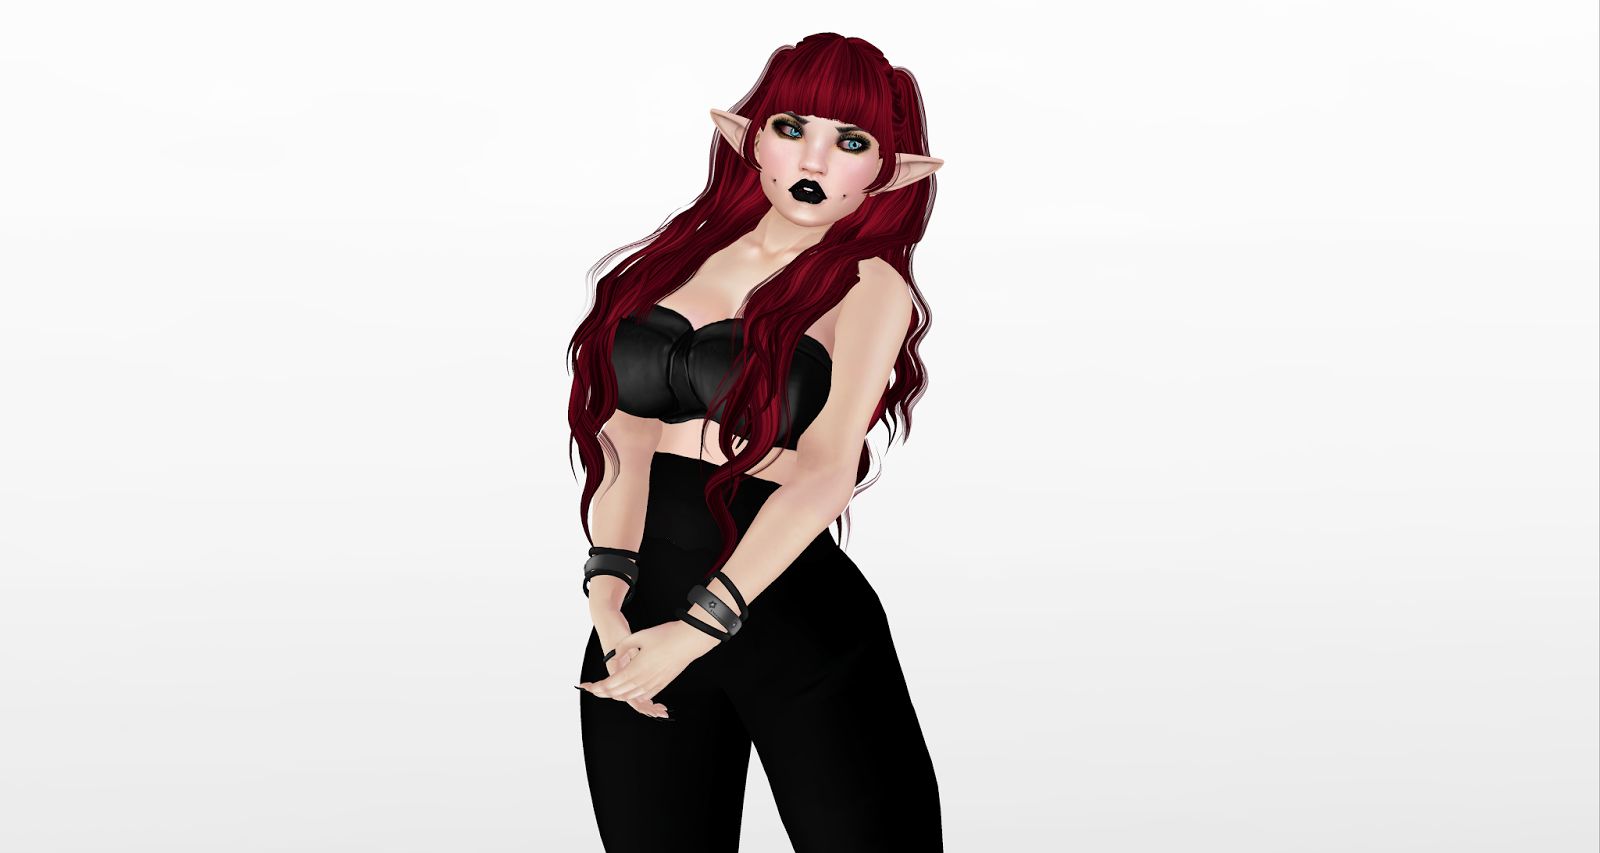

Example of an Image Taken on The Lowest Graphics Settings

Example of an Image Taken on Medium Graphics Settings


Example of an Image Taken on High Graphics Settings


Now click on these photos to enlarge them so you can examine each image. Notice the differences in quality on each setting.

Low and Med settings will leave your av looking a bit dull. Also you will see jagged edges and textures wont look as good.

When you turn your settings on High you will notice everything starts to smooth out.The edges of your shape and clothing, the texture of your skin looks brighter and more defined.


PERFORMANCE

When you are doing photos on  high-ultra settings its totally normal to experience lagging and freezing. It happens.To lessen this do the following.

Under your graphics settings after you have turned it to High, then lower your draw distance, Max particle Count, Physics,Trees,Terrain, and Sky.

You will not need these turned up for photos that are taken in a studio type setting with a background.

However with an on location shoot you will need the higher quality settings.


TOOLBAR BUTTONS

If you have never used these or don't even know what they are I am shocked. As a blogger you should have already been using atleast a few of these.


To access these buttons you can either  right click on the side of your viewer or the bottom. Just right click on the buttons and click Toolbar Buttons.


You should now be looking at this.Now locate the one that says Phototools Camera. Drag it over to the left side your your viewer screen as show in the image above this one. Now the button will be there for easy access.

I also suggest keeping the Pose Stand Button there.

PHOTOTOOLS CAMERA


When you click on the button you will see this. Dont worry its not difficult. Actually you wont even be using most of it.
The only slider you need to use is View Angle. This will allow you to zoom in super close to areas of the body to get a better shot.

To save the camera position choose the icon that looks like an eye with a downward facing arrow. This is so if you crash you wont loose your camera view you just set.

When you are finished put it back to the norm between 700-850ish. whatever it was before you started.


WINDLIGHT
If you are blogging or doing photos you should know what windlight is and how to use it otherwise you wont be getting the best lighting to showcase anything you are wearing.


At the top of your screen under World you will see Enviromental Editor, then Sky Presets, then Edit Preset.
Click on Edit Preset.


I know it looks complicated to someone who has never used it before, but it really isnt once you get the hang of how it works.


Now at the top beside the word Name: you can select from tons of lighting presets. You want to find a clear  well lit light settings for your photos, unless you are doing some sort of dark theme photo and want to use something else. That will be tricky because you have to be sure a darker lighting still shows what you have on enough for people to identify it.

Notice the preset at the bottom thats highlighted.  Try using that one.


BACKGROUNDS

Backgrounds can either enhance a photo or ruin it. Its very important to really think about your choice of background and if its gonna clash with your outfit.
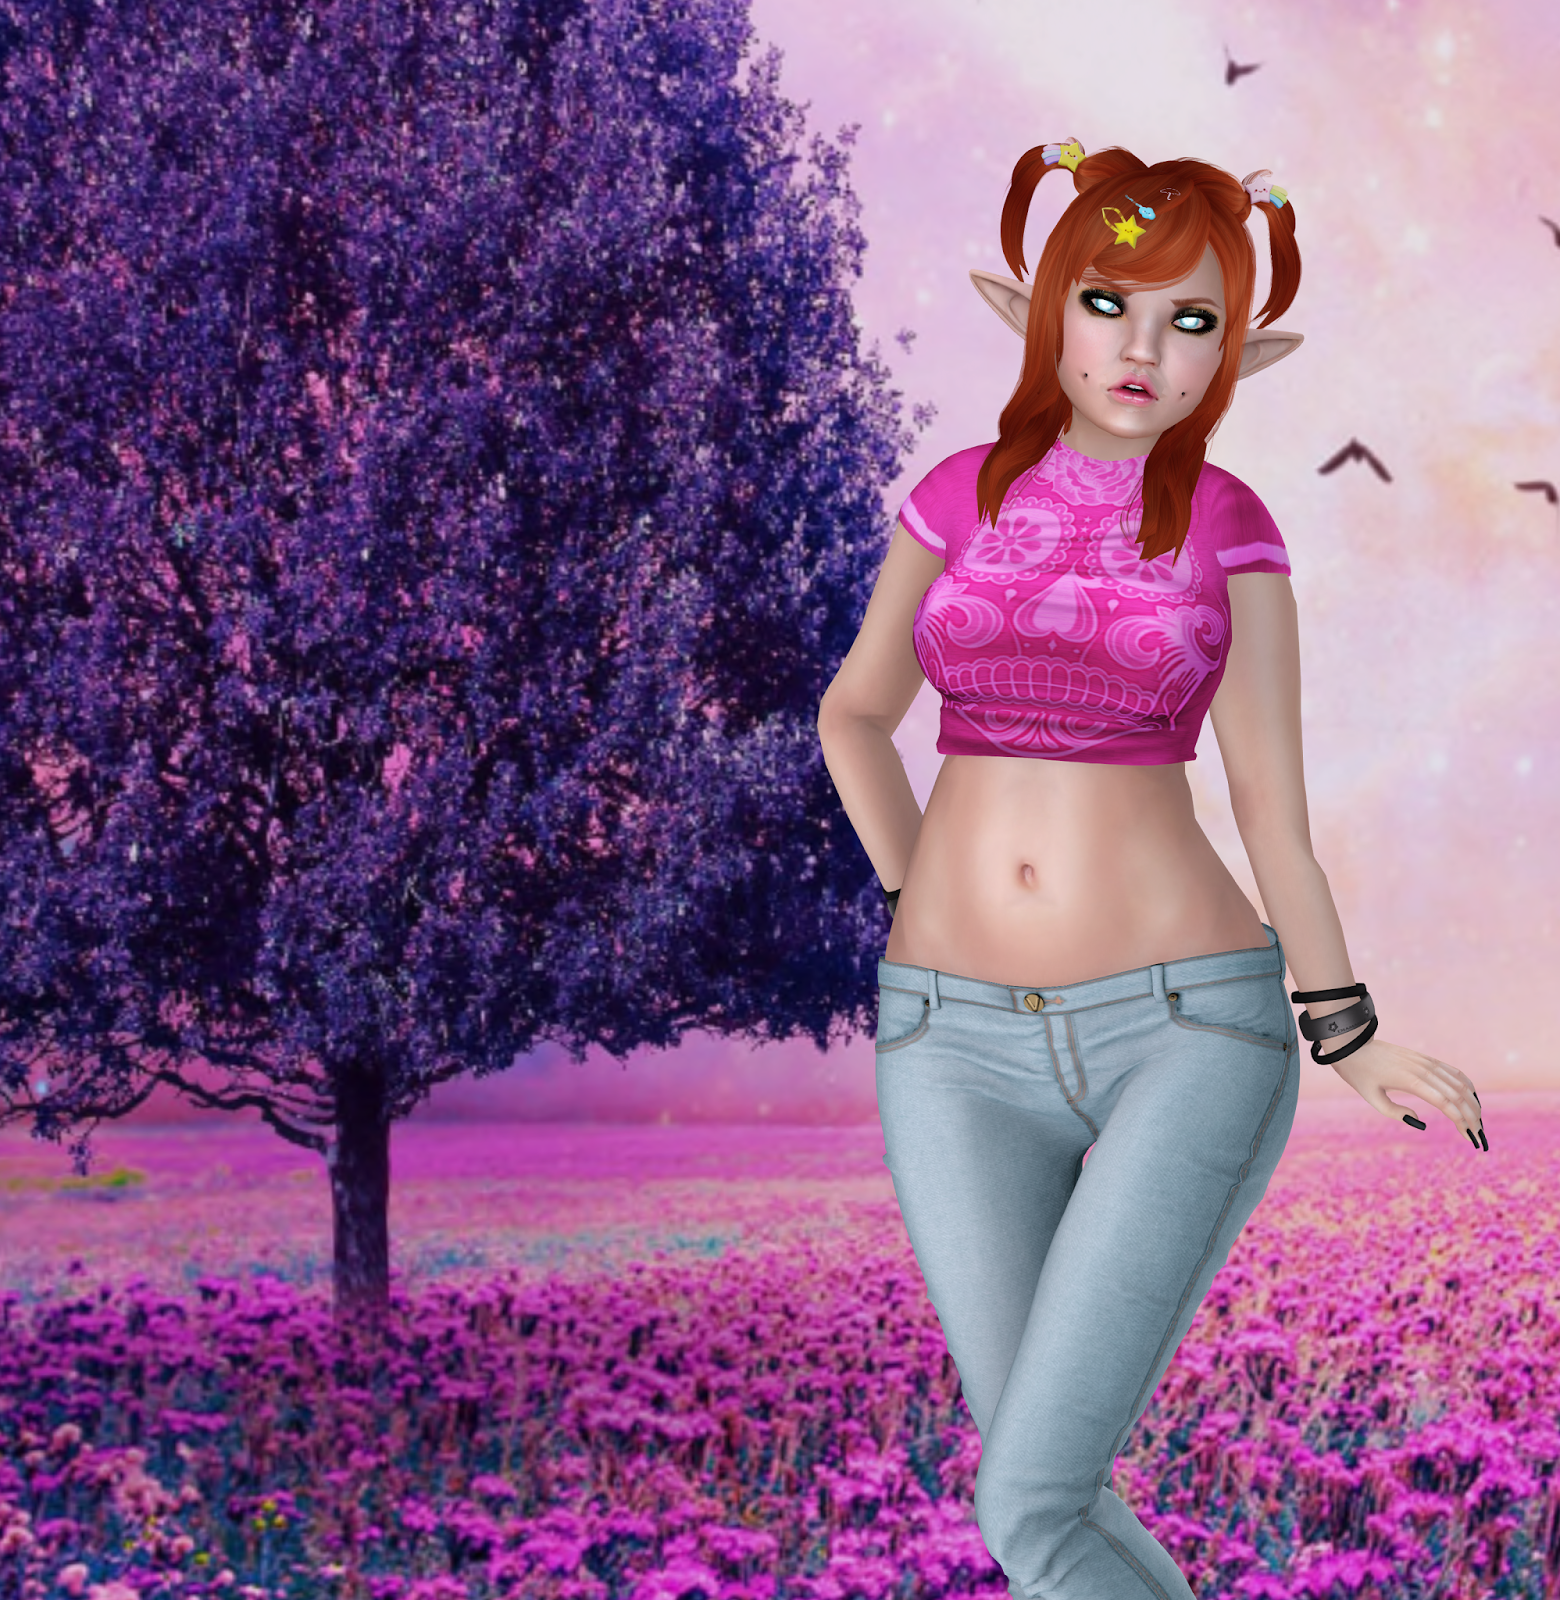
Image 1

 
Image 2

Now look at these 2 images. You see a lovely background full of color. Nothing wrong with the background at all.But notice in image 1 when looking at it your eyes dont know where to focus. You keep wanting to look at the busy background and not at the outfit you are blogging.

Now look at image 2. The same background image, but blurred. You can still makeout the outlines but the background is no longer the focus on this blog photo. Your eyes now go to what your avatar is wearing. The colors in the background now enhance your avatar not overpower it.

If choosing to do an on location photo, meaning you are doing a photo somewhere in world that isnt in a Studio with a background image. You will have to be extra careful to be sure the scene enhances the look not overpowers it.


*note the example image 1 isnt even that busy, i just wanted to give to an example of a busy background being used with blog photos*


EFFECTS

I have seen this a lot and i know its tempting to do but you have to limit it.
Do not put thick frames on your images. It cheapens the look of what should be a high quality image.

Do not over use effects on your image such as grunge brushes and scratches. It makes the images look messy and it takes away the focus of what you are trying to blog.

Also careful with the filters. Dont throw on to many filters. Because by the time you finish the outfit wont even look like it should.Use bright and contrast to enhance. Thats really all thats needed,

If using effects choose  something that will enhance such as light rays. Make it subtle.

EDITING
The only editing you need to be doing to the avatar in the photo is fixing distorted joints because of certain poses, or fixing your hair if its going through part of your boobs, or if the alpha is making a nipple show. That happens. Its not problem fixing it. But never make any major editing changes to what you are wearing. You want people to see what they are really going to see in world.

YOUR BLOG
Now this can be a matter of personal taste and diffrent opnions, but using a template with a super busy background will be more of a headache for readers than an attraction.

Go for a clean layout and color scheme. Then have someone make you a very nice custom blog header with your blog name on it to make your blog stand out.

This makes your blog look super neat and professional.

Thursday, April 10, 2014

Look # 44 Dreams


I knew when i got this outfit that an ordinary setup just wasnt going to do this justice. So I tpd to my house to brave the lag and set up in the corner by the windows on my lounger.Im just in love with anything girly. These colors are just nom worthy.It has Lolas appliers, Phat and Cute Azz appliers, as well as Ghetto, and slink socks and a mesh skirt.

This outfit is available at Going Bust


Style Info
______________

*Skin-Glam Affair - Sylvia  America
*Hair-TRUTH HAIR Harriet
*Ears-[MANDALA]FANTASY_ELF_Ears(
*Outfit-Bombshell-sugar baby


Saturday, March 29, 2014

Look # 43 Supernova

Yeah i know its been ages sense i made a post, but i have been super busy with my store Dirty Cupcake.I have no plans to give up blogging, its just i can only make the occasional post when things are not too busy.

For todays look I wanted to go with galaxy print items. I didn't want a big mess so i paired the top and shoes with some sleek black mesh tights.Also this is one of those rare moments you will see me with dark hair.I hope you like it :)


Style Info
______________________ 


SKIN-Glam Affair - Sylvia  America
 HAIR-*Milk* Hair~ Royals *
BROWS-Soiree - Brows / Vivian
EYES-.tsg. Galaxy - Silver
LIPSTICK-::Dirty Cupcake:: Indulgence Lip Butter-CandyFloss
EYELASHES-*MC* "Falsies" Mesh Alpha Lashes with HUD - Pack1
TOP-::Dirty Cupcake:: Casual T-Galaxy
PANTS-.:villena:. - H/W Leggings SplicedBlackV1
SHOES-::Dirty Cupcake:: Alanis Boots-Galaxy
BRACELETS-Cute Poison - Dee Bracelets
PIERCINGS-<-Puncture-> Triple Bindi Piercing (Gemstone) Basics, and :Zombie Suicide: Cheek dimples with piercings V2
NAILS-ILLMATIC - Style n File :: The Metallics


Tuesday, February 11, 2014

Mesh T Shirt Texturing Tutorial

Because a friend needed some help i promised i would write a simple tutorial on how to do a mesh tshirt. This is not the only way and im certain more experienced creators have their own ways they prefer,but this is what works for me and how i learned all on my on.

First things first search the marketplace for Full Perm Mesh Shirt. Be more specific either for men or womens or the style of shirt you are needing.

In your folder you will see premade shirts and textures. You need to open the texture and save it to your computer.( It may say shadowmap)

Now open up photoshop and then File and Open  and locate the shirt.


Now you can see this one has no texture on it at all. If yours looks similar to this you will need a simple shirt texture to overlay on this.

You can either google search or simply search the marketplace for a full perm one.

___________________________________________________________________________
Now open your tshirt overlay texture into photoshop. Then using the Rectangular Marquee Tool

..drag it over the image to highlight it. Then at the top of your screen under Edit, click on Copy


Now go back to your mesh texture tab.

Then go back to the top of the screen to Edit, then click Paste.

It should look like this.


______________________________________________________________________________

Now you need to play with Opacity of the layer.Right click on the layer. Then Click Blending Options. Then in the section where it says Blend Mode, choose from the drop down list Multiply.

Now your texture overlay should look like this.


woohooo its magic! your shirt has texture to it without you having to  do much of anything lol.

 ______________________________________________________________________________

The next step is adding shading and highlights. You dont want your shirt looking flat. To understand where to add these look at some images of people wearing tight fitting shirts.

Create a new layer ( top of your screen)
Now select a small round brush and your paint color to black and paint the shading in the proper areas. Example below.


 Now you are going to smooth this out by using Gaussian Blur. This is located under Filter, then Blur.
adjust this slowly so it doesnt over blur. It should now look like this.


Highlights.
Create a new layer. now change your paint color to white. Now add highlighting to parts of the body that will poke out the most in a shirt.


Same as above. Use Gaussian Blur to smooth it out.


Change the Blend Mode option to this one to Overlay so its not so harsh.


Wrinkles
 (Optional)
New layer, set brush to small size( 5-10)
Now go to Pen Tool ( its below smudge)

Now you need to choose an area to add wrinkles and click by click it will place connected dots.

Now right click over the connected dots , then choose Stroke Path.
Be sure simulate pressure box is checked.


Now click ok.Now you should see a smallish black line.Right click on the line and click Delete Path. Now repeat a few more in various sizes then adjust the opacity.


Now double click the layers over in the tab so you can name them Highlights and Shading ( and wrinkles if you added any)

Do not merge these layer. Click on the small button by the layers that looks like an eye. this will hide the layers until you need them later.


_________________________________________________________________________

Now to add cool designs and patterns.

If you are adding a pattern to the entire shirt you can repeat the process above for adding the simple overlay texture.


When you paste your full shirt pattern onto the Mesh Texture you may need to resize it. to do this click the Move Tool
 then at the top of the screen be sure this box is checked.


Now you will see that you can shrink the design overlay you just added.Just drag the corners.

Now duplicate the layer ( right click on the layer over in the panel, then click duplicate)
and drag it over to another uncovered area of the shirt.

Example


 This pattern overlay is set on Multiply under the blend mode option. you may try others for a different effect.You may also want to adjust brightness and contrast as well as Color Balance to create different color options.

Now unhide hose highlights and shading layers.


see the difference?


________________________________


Middle of the shirt design Option.

Open up your design. and Using the Pollygonal Lasso Tool trace around the area of the design you want to use.


Now go back to the mesh shirt tab, then go to Edit, then Paste.


_______________________________________________________


Now it really depends on what the design is and which Blend Mode option will look best with it. Just play around with them until you find one.

now smooth the edges out around design using the Smudge Tool (


I decided to just slowly smudge out the surrounding color into the entire shirt. Dont knock it lol it works for me :P

Just set the smudge brush to a smaller size and lower strength until you get farther out and raise it much higher and make the brush larger and within a  minute you will have it done. Yeah really fast.

Example


____________________________________________________________


Now Unhide the highlighting and shading layers ( be sure they are on top of the design. Then merge everything.

Done.


Play with brightness and contrast and Color Balance ext to achieve different color effects.